Screen Saver Installation Instructions
After the compressed screen saver files are loaded onto a local hard drive, they are ready for decompression and installation. Olympus Microscopy Resource Center screen savers are offered in two compression formats: executable (*.exe), and zipped (*.zip).

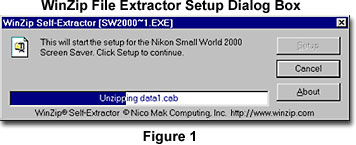
If the screen saver files were downloaded in Zip format, then double-clicking on the Zip file icon will launch the default Windows Zip file extractor, which queries the user for a target directory to store unzipped files. Choose the directory, and then click on Extract, either from the software interface dialog box or the file menu. After unzipping the files, navigate to the target directory and double-click on the Setup.exe icon to install the screen saver files. If the executable archive file was downloaded, it can be decompressed and installed simply by double-clicking on the *.exe file icon located in the download target directory. This action will launch the WinZip Extractor (Figure 1) dialog box and proceed with installation.

Upon setup initialization, the Install Shield Welcome dialog box appears (Figure 2) and halts further action until the Next button is clicked. This box displays a welcome message that identifies the software being installed and recommends that all Windows programs be exited before proceeding with the installation. Also present in the dialog box is a warning message about copyright of the software and unauthorized distribution. If the user does not agree with this information, the Cancel button should be chosen to abort installation.

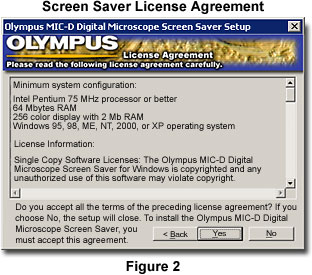
Upon proceeding with installation, the next dialog box appearing contains the software license agreement (Figure 3), which reviews the license and queries the user for an agreement by clicking on either the Yes or No buttons. If the agreement is satisfactory, click on the Yes button to proceed with installation. In the event the user does not care to adhere to the license terms, he/she may choose the No button to cancel installation.

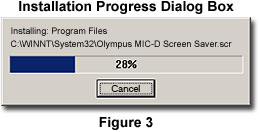
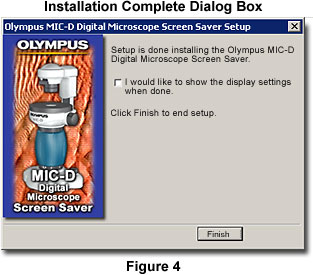
If the user chooses to install the screen saver files, a set of dialog boxes containing a progress bar and meter indicator (Figure 4) appear to indicate the relative stage of file installation and the amount of hard drive space available for installation. When all of the necessary files have been installed, the progress indicator dialog boxes disappear and the Setup Complete dialog box (Figure 5) appears.

The dialog box in Figure 5 contains a checkbox that will launch the Display settings panel upon exiting the installation program. To perform this action, use the mouse to place a checkmark in the checkbox, and click on the Finish button. Once the Display settings panel is on the monitor, click on the Screen Saver tab to choose and configure the screen saver software that has just been installed.
