
MIC-D Screen Saver Installation Instructions
After the compressed screen saver files are loaded onto a local hard drive, they are ready for decompression and installation. The executable archive file can be decompressed and installed simply by double-clicking on the *.exe file icon located in the download target directory. This action will launch the InstallShield Wizard file extractor, which will decompress the screen saver files and start the installation.
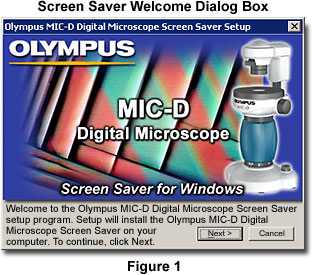
Upon setup initialization, the screen saver setup software Welcome dialog box appears (Figure 1) and halts further action until the Next button is clicked. This box displays a welcome message that identifies the software setup being initialized and informs the operator that the screen saver software is about to be installed. The installation can be allowed to proceed by clicking on the Next button, or aborted by clicking on the Cancel button.
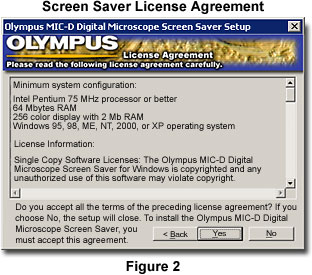
Upon proceeding with installation, the next dialog box to appear on the screen contains the software License Agreement (Figure 2), which reviews the license and queries the user for agreement by clicking on either the Yes or No buttons. If the license agreement is satisfactory, click on the Yes button to proceed with the software installation. In the event the user does not care to adhere to the license terms, he or she may choose the No button to cancel installation.
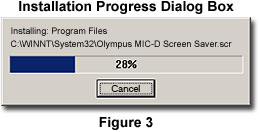
After the user chooses to proceed with installation of the screen saver files, an Installation Progress dialog box appears. The dialog box contains a continuously updated progress window (Figure 3) revealing the percentage of program files installed, indicated with both a number value and a blue progress bar. To terminate installation at this point, click on the Cancel button at the bottom of the dialog box. When all of the necessary files have been installed, the progress indicator dialog box disappears and the Installation Complete dialog box (Figure 4) appears on the screen.
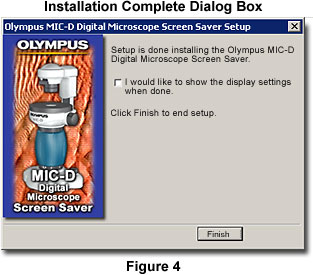
The dialog box in Figure 4 contains a check box that will launch the Display settings panel upon exiting the installation program. To perform this action, use the mouse to place a checkmark in the check box, and click on the Finish button. Once the Display settings panel is on the monitor, click on the Screen Saver tab to select and configure the screen saver software that has just been installed.